
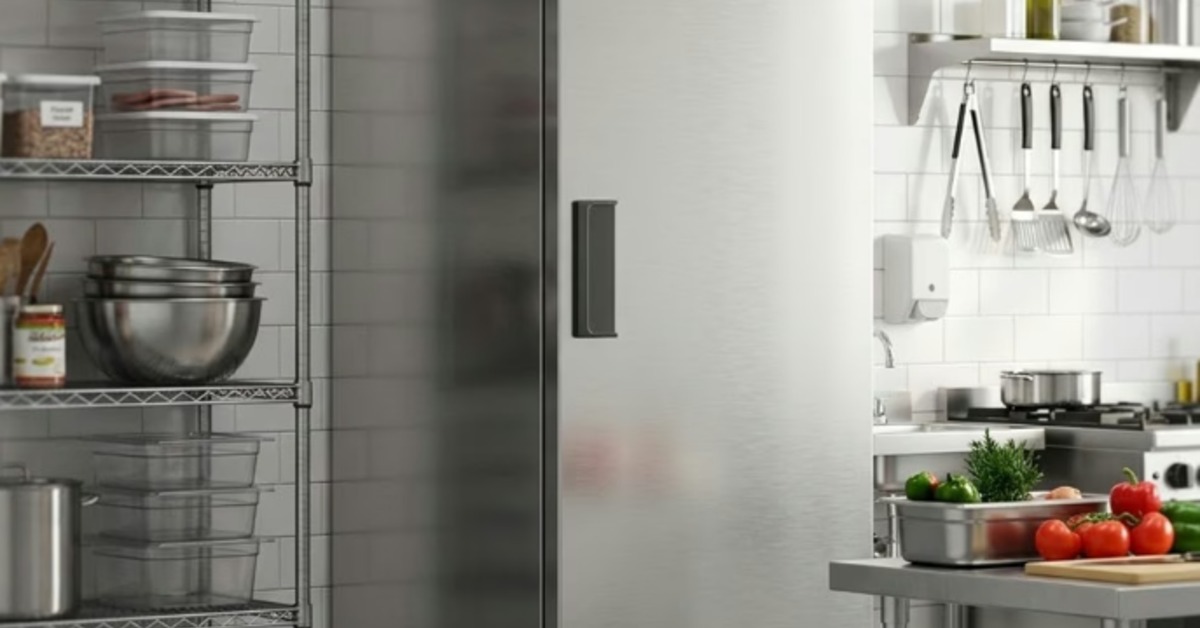
A commercial freezer works hard to preserve food quality, protect inventory, and support the pace of a busy kitchen. Excess ice reduces usable space and can place additional strain on refrigeration components. A proper defrost routine helps your equipment maintain reliable temperatures and operate more efficiently. Jump into this quick guide to defrosting a commercial freezer correctly to take better care of your equipment today.
Signs Your Commercial Freezer Needs a Defrost
Your freezer may show several warning signs before frost becomes a serious operational concern. Regular inspections help staff recognize these issues before they interfere with food storage. Addressing unusual ice deposits early can also prevent minor maintenance concerns from becoming expensive repairs.
Watch for these common symptoms:
- Thick frost deposits along interior walls or shelves.
- Ice accumulation near door frames and gaskets.
- Reduced airflow throughout the cabinet.
- Difficulty opening or closing freezer doors.
- Unusual temperature fluctuations or extended compressor operation.
- Frost buildup around the evaporator area.
Not every temperature problem comes from excessive frost. Faulty sensors, damaged seals, and refrigeration defects can produce similar symptoms. Persistent issues deserve professional attention rather than repeated manual defrost attempts.
How To Prepare Your Commercial Freezer for Defrost
Proper preparation helps protect food inventory and creates a safer work environment. A rushed defrost can expose products to unsafe temperatures or leave excessive water across the kitchen floor. Before you begin, establish a clear plan for food relocation, equipment shutdown, and water removal.
Transfer Food to Another Freezer
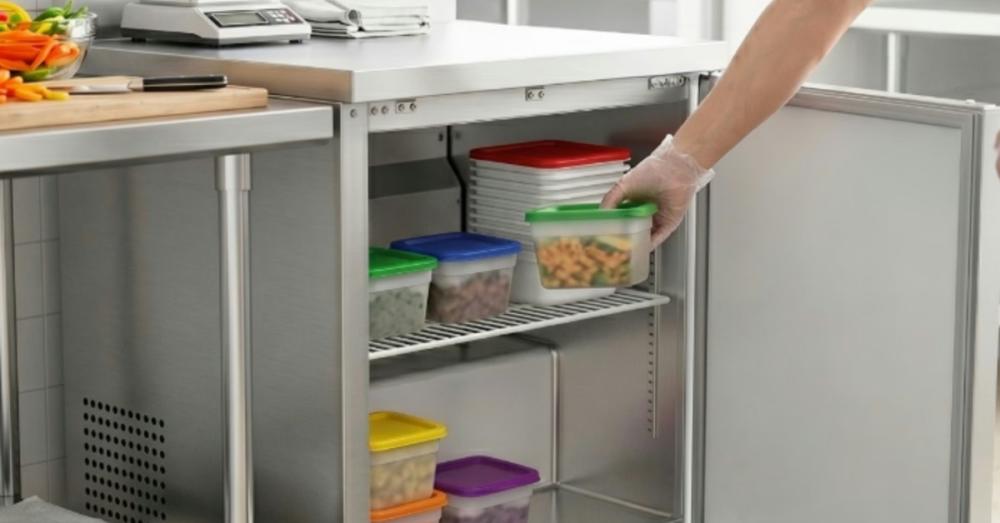
Start by relocating frozen products to another commercial freezer with adequate capacity. Use a verified freezer thermometer to confirm the alternate unit maintains appropriate storage temperatures. Keep products organized by category so staff can return everything efficiently after the process.
Avoid leaving frozen inventory at room temperature throughout the defrost. Food safety depends on proper temperature control, and extended exposure can compromise product quality. Follow your food safety plan and applicable regulations for any products that experience temperature abuse.
Shut Down the Freezer Safely
Consult the manufacturer's manual before you begin. Some models have a dedicated manual defrost function, and others require a complete shutdown. Follow the specified procedure rather than assuming every commercial freezer operates the same way.
For a manual defrost that requires power isolation, switch off the equipment and disconnect its electrical supply according to the manufacturer's directions. Never expose energized components to water. If the power connection isn't readily accessible, arrange for qualified assistance.
Prepare the Surrounding Area
Place absorbent towels or suitable water collection containers near the freezer. Check the drain outlet for visible obstructions and confirm that meltwater has a clear path to its designated collection area. Keep nearby walkways dry and free from obstacles, since a wet kitchen floor introduces an unnecessary slip hazard.
Step-by-Step Guide to Defrosting a Commercial Freezer Correctly
Once you've prepared the equipment, the actual defrost process should be controlled and methodical. The goal is to remove accumulated ice without damage to internal surfaces or refrigeration components. Each stage deserves adequate time, particularly when the freezer has developed thick frost deposits.
Step 1: Allow Frost to Melt Naturally
For a manual-defrost model, leave the door open after the unit has been shut down according to its instructions. Ambient air will gradually soften and melt the accumulated frost. Allow enough time for the ice to release naturally, as thick deposits may require several hours depending on cabinet size and room temperature.
Step 2: Avoid Sharp Tools and Excessive Heat
Never attack stubborn ice with knives, screwdrivers, or metal scrapers. These tools can puncture refrigerant lines, damage evaporator surfaces, or compromise the cabinet interior. Even a small puncture can turn routine maintenance into an expensive service appointment.
Hair dryers, heat guns, and boiling water also present risks. Concentrated heat can deform plastic components, damage seals, or introduce electrical hazards. Use only manufacturer-approved methods and accessories for ice removal.
Step 3: Remove Meltwater and Loose Ice
As the frost melts, collect loose ice and excess water with suitable tools and absorbent materials. A soft plastic scraper may be appropriate for some models, but only if the manufacturer permits its use. Pay attention to cabinet corners, door thresholds, and drain areas, since leftover water can refreeze after startup.
Step 4: Clean and Dry the Interior
After the ice has disappeared, clean the interior with products approved for the freezer's surfaces. Follow the manufacturer's sanitation instructions and avoid abrasive cleaners that could damage protective finishes. Wipe down shelves, walls, and accessible door gaskets before removing any remaining moisture with clean, dry cloths.
A thoroughly dry interior reduces immediate frost formation once the equipment returns to service. Inspect accessible surfaces for cracks, damaged seals, or debris near drainage points. These quick checks can reveal maintenance concerns before normal operations resume.
Step 5: Restart and Verify the Temperature
Close the doors and restore power according to the manufacturer's startup procedure. Set the thermostat to the recommended temperature and allow the cabinet to reach its normal operating range. Use a calibrated thermometer to verify the actual interior temperature.
For standard frozen food storage, 0°F (-18°C) or below is a common target, subject to product requirements and applicable food safety rules. Don't return food until the freezer has reached its appropriate storage temperature. Check the condition and temperature history of transferred products before restocking.
Common Defrost Mistakes That Can Damage Equipment
Even experienced kitchen staff can overlook small details during routine maintenance. Unfortunately, certain shortcuts can lead to costly repairs or another round of frost accumulation. Recognizing these mistakes helps protect the freezer and keeps maintenance procedures consistent.
One common mistake involves removing ice by force. Excessive pressure against evaporator surfaces or cabinet panels can cause damage far beyond the original frost problem. Staff should allow stubborn deposits to thaw naturally instead of attempting to pry them loose.
Another issue is restarting the freezer before the interior has dried. Residual water can freeze around drains, shelves, and door seals, potentially creating fresh obstructions. A final inspection before startup can help prevent another unnecessary defrost.
Keep Your Commercial Freezer Ready for Daily Service
A reliable freezer supports food safety, inventory protection, and smoother kitchen operations. With the right preparation and a careful approach, defrosting a commercial freezer correctly becomes a manageable part of preventive maintenance. Consistent inspections and proper maintenance practices can also help extend equipment service life.If your current equipment struggles with recurring frost, unstable temperatures, or costly repairs, it may be time to consider a replacement. Explore Kitchenall's selection of industrial freezers to find dependable equipment that suits your setup.