
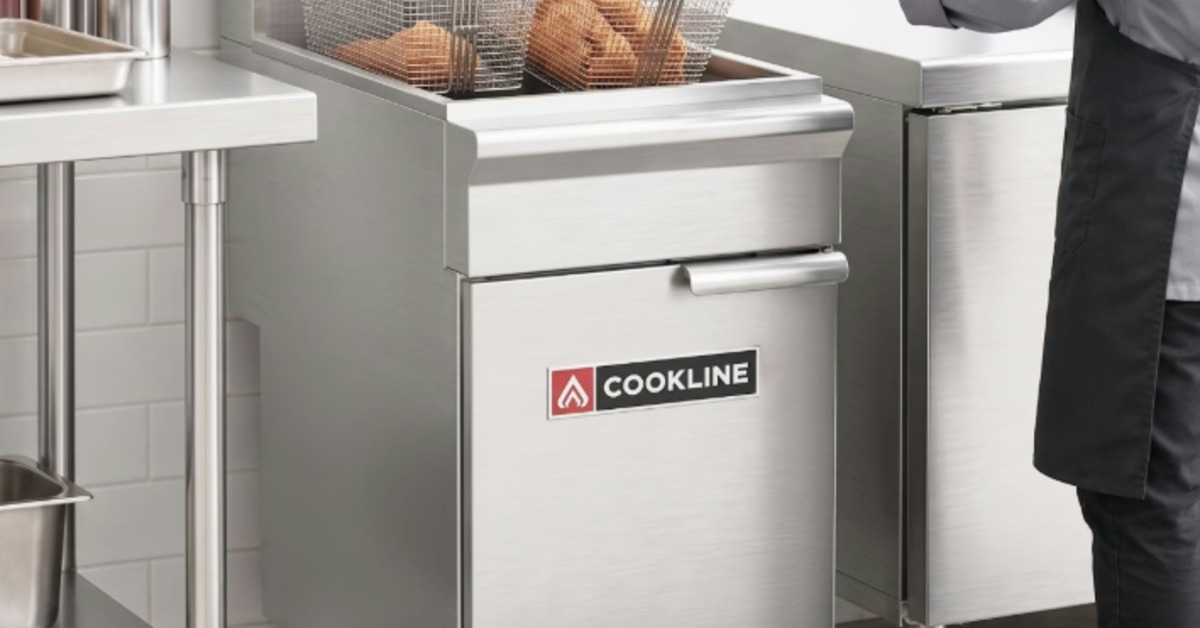
A clean fryer does far more than improve appearances. Fresh oil lasts longer, food tastes better, and your kitchen runs with fewer headaches when grease and carbon buildup stay under control. Following right steps as you learn how to clean a commercial deep fryer like a pro comes down to a routine that protects your equipment and delivers consistent results every day. Use our guide to learn the must-know steps to follow today.
Prioritize Safety First
Before any cleaning begins, shut the fryer off and allow the oil to cool to a safe temperature. Hot oil can cause severe burns, so patience pays off long before the first brush touches the vat. Disconnect the power source or turn off the gas supply according to the manufacturer's instructions. Put on heat-resistant gloves and keep a designated container nearby for used cooking oil.
A little preparation saves time later. Gather a fryer brush, non-abrasive scrub pads, fryer cleaner, clean towels, and fresh water before the job starts. Everything stays within reach, and the process moves from one step to the next without unnecessary interruptions.
Drain the Used Oil
Once the oil has cooled enough to handle safely, drain it into a suitable container. If the oil still looks clean and falls within your replacement schedule, filter it before reuse. Dark color, burnt odors, or heavy food particles signal that fresh oil belongs in the fryer instead.
Take a close look inside the fry pot after draining. Small crumbs tend to settle near the drain valve and corners. Remove those particles before moving forward so they don't turn into stubborn carbon deposits during the next heating cycle.
Remove Loose Debris
A fryer brush or plastic scraper works well for lifting loose residue from the interior surfaces. Focus on corners, heating elements, and areas near the drain. Those spots collect the highest concentration of crumbs after a busy service.
Avoid metal tools that scratch stainless steel. Tiny scratches create places for grease and residue to collect, and future cleanups become more difficult. Gentle tools paired with steady effort produce much better long-term results.
Perform a Boil-Out
One of the best ways to remove baked-on grease involves a boil-out procedure. Close the drain valve and fill the fryer with water up to the recommended fill line. Add the correct amount of commercial fryer cleaner according to the product directions.
Turn the fryer on and allow the solution to heat until it reaches a gentle simmer. The warm cleaning solution loosens stubborn grease from the walls of the fry pot without excessive scrubbing. After the recommended amount of time, turn the fryer off and allow the solution to cool before draining it completely.
Scrub Every Interior Surface
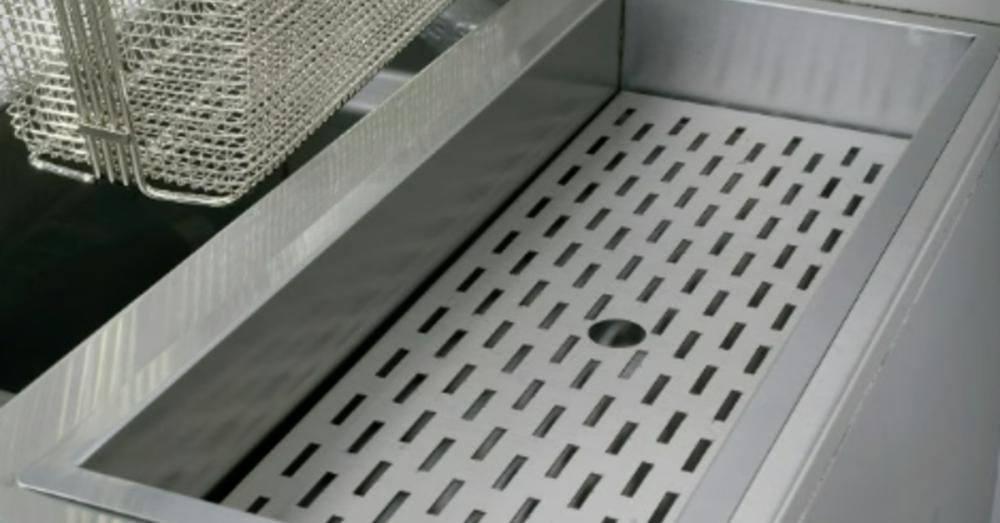
After the boil-out, most residue wipes away with very little effort. Use a long-handled fryer brush to scrub the interior walls, heating elements, and bottom of the fry pot. Pay extra attention to corners where grease tends to collect over time.
For stubborn spots, apply a little additional fryer cleaner and allow it to sit for several minutes. A second pass with the brush usually removes anything left behind. Slow, steady work produces a much cleaner result than aggressive scrubbing.
Rinse Thoroughly
Any cleaner left inside the fryer can affect the flavor of fresh oil. Fill the vat with clean water and rinse every surface carefully. Drain the water completely, then repeat the rinse if any cleaner residue remains.
Many operators finish with a mild vinegar-and-water rinse to neutralize traces of cleaning solution. After that, drain the fryer once more and wipe every surface dry with clean towels. Moisture has no place inside fresh cooking oil.
Clean the Exterior
The outside of the fryer deserves the same attention as the interior. Stainless steel collects fingerprints, grease splatter, and dust throughout the day. A soft cloth and food-safe stainless steel cleaner restore the finish without damaging the surface.
Take extra time around control knobs, handles, and door edges. Those areas receive constant use and accumulate grease faster than flat panels. A clean exterior also presents a more professional appearance during health inspections and open kitchen service.
Don't Forget the Fry Baskets
Fry baskets collect burnt batter and food particles after every shift. Remove them from the fryer and soak them in hot water mixed with a commercial degreasing solution. After soaking, scrub every wire surface with a stiff nylon brush. Rinse the baskets thoroughly and allow them to dry before placing them back into service. Clean baskets help food cook more evenly and reduce the chance of old residue transferring into fresh oil.
Inspect Parts During Every Cleaning
One of the best ways to clean a commercial deep fryer like a pro is to carefully inspect your parts. Cleaning time creates the perfect opportunity for a quick equipment inspection. Look for loose handles, worn basket hooks, damaged drain valves, and deteriorated gaskets.
Heating elements also deserve a close look for discoloration or excessive carbon buildup. Small repairs cost far less than emergency breakdowns during dinner service. Regular inspections allow maintenance teams to catch minor problems before they interrupt daily operations.
Create a Cleaning Schedule
Restaurants that rely heavily on fried foods benefit from a consistent cleaning routine. Daily wipe-downs keep grease under control, weekly boil-outs remove accumulated residue, and deeper inspections fit nicely into monthly maintenance plans.
Posting the schedule near the fryer helps every employee follow the same process. Consistency produces cleaner equipment, better food quality, and fewer surprises during inspections. A routine also extends the life of expensive commercial fryers.
Protect Your Cooking Oil
Clean fryers and quality oil work together. Every batch of crumbs left inside the fryer shortens oil life by introducing burnt particles into each new cook cycle. Cleaner equipment allows oil to stay fresher for a longer period, reducing replacement costs over time.
Filter reusable oil at the end of each shift whenever possible. Store it in clean, sealed containers away from heat and light until the next use. Those habits preserve flavor and help every batch of fried food maintain the same crisp finish customers expect.
Train Every Team Member
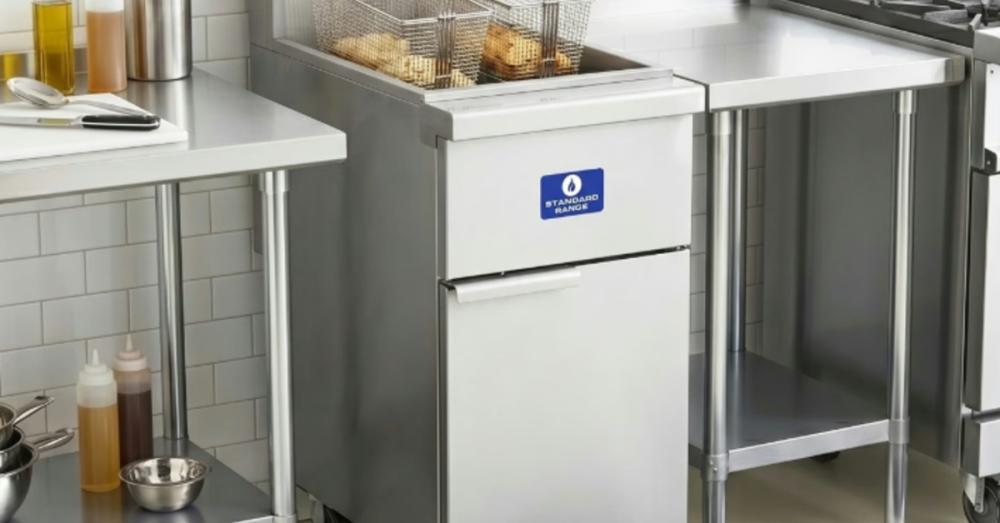
A spotless fryer shouldn't depend on one experienced employee. Every cook should understand the complete cleaning process from start to finish. Clear instructions reduce mistakes and keep maintenance standards consistent across every shift. Written checklists also help new employees develop good habits from day one. As staff members become familiar with the routine, cleaning takes less time without sacrificing quality.
Daily attention paired with scheduled deep cleaning protects one of the hardest-working pieces of equipment in any commercial kitchen. That investment of time pays off through lower operating costs and more reliable performance throughout the year. If you're ready to upgrade your current fryer or replace aging equipment, Kitchenall offers commercial gas fryers built for demanding foodservice operations.